

Pop quiz: Which came first? Android or iOS?
Don’t worry I had to look this up too. Technically it was iOS, because the first device with an OS called Android came a year or so after.
Not relevant to this post, but I had to check this myself before writing this because I needed a good intro.
Android itself has taken many changes over the years. But one of the biggest changes has to be the change from Device Administrator mode to Android Enterprise (formerly Android for Work). This fundamentally changed the way a device is managed using an EMM and as a result, changed the way that we can deploy, install and manage applications as well.
Given that Android Device Administrator has been deprecated as of version 10, this guide will only talk about deploying Android Applications using Android Enterprise.
Obviously for this to make sense to your deployment, you’ll need to have set up Android Enterprise.
Application deployment using Android Enterprise is actually very secure. With iOS, its a bit of a pain to stop apps from being installed by an end-user. But with Android, every app that you want your users to have access to must be whitelisted.
The only exception or sidenote to this is that when using a Work Profile, you don’t control the apps outside the Work Profile. The end-user can still install their own personal apps on their phone/tablet, but only have access to install approved apps in the Work Profile.
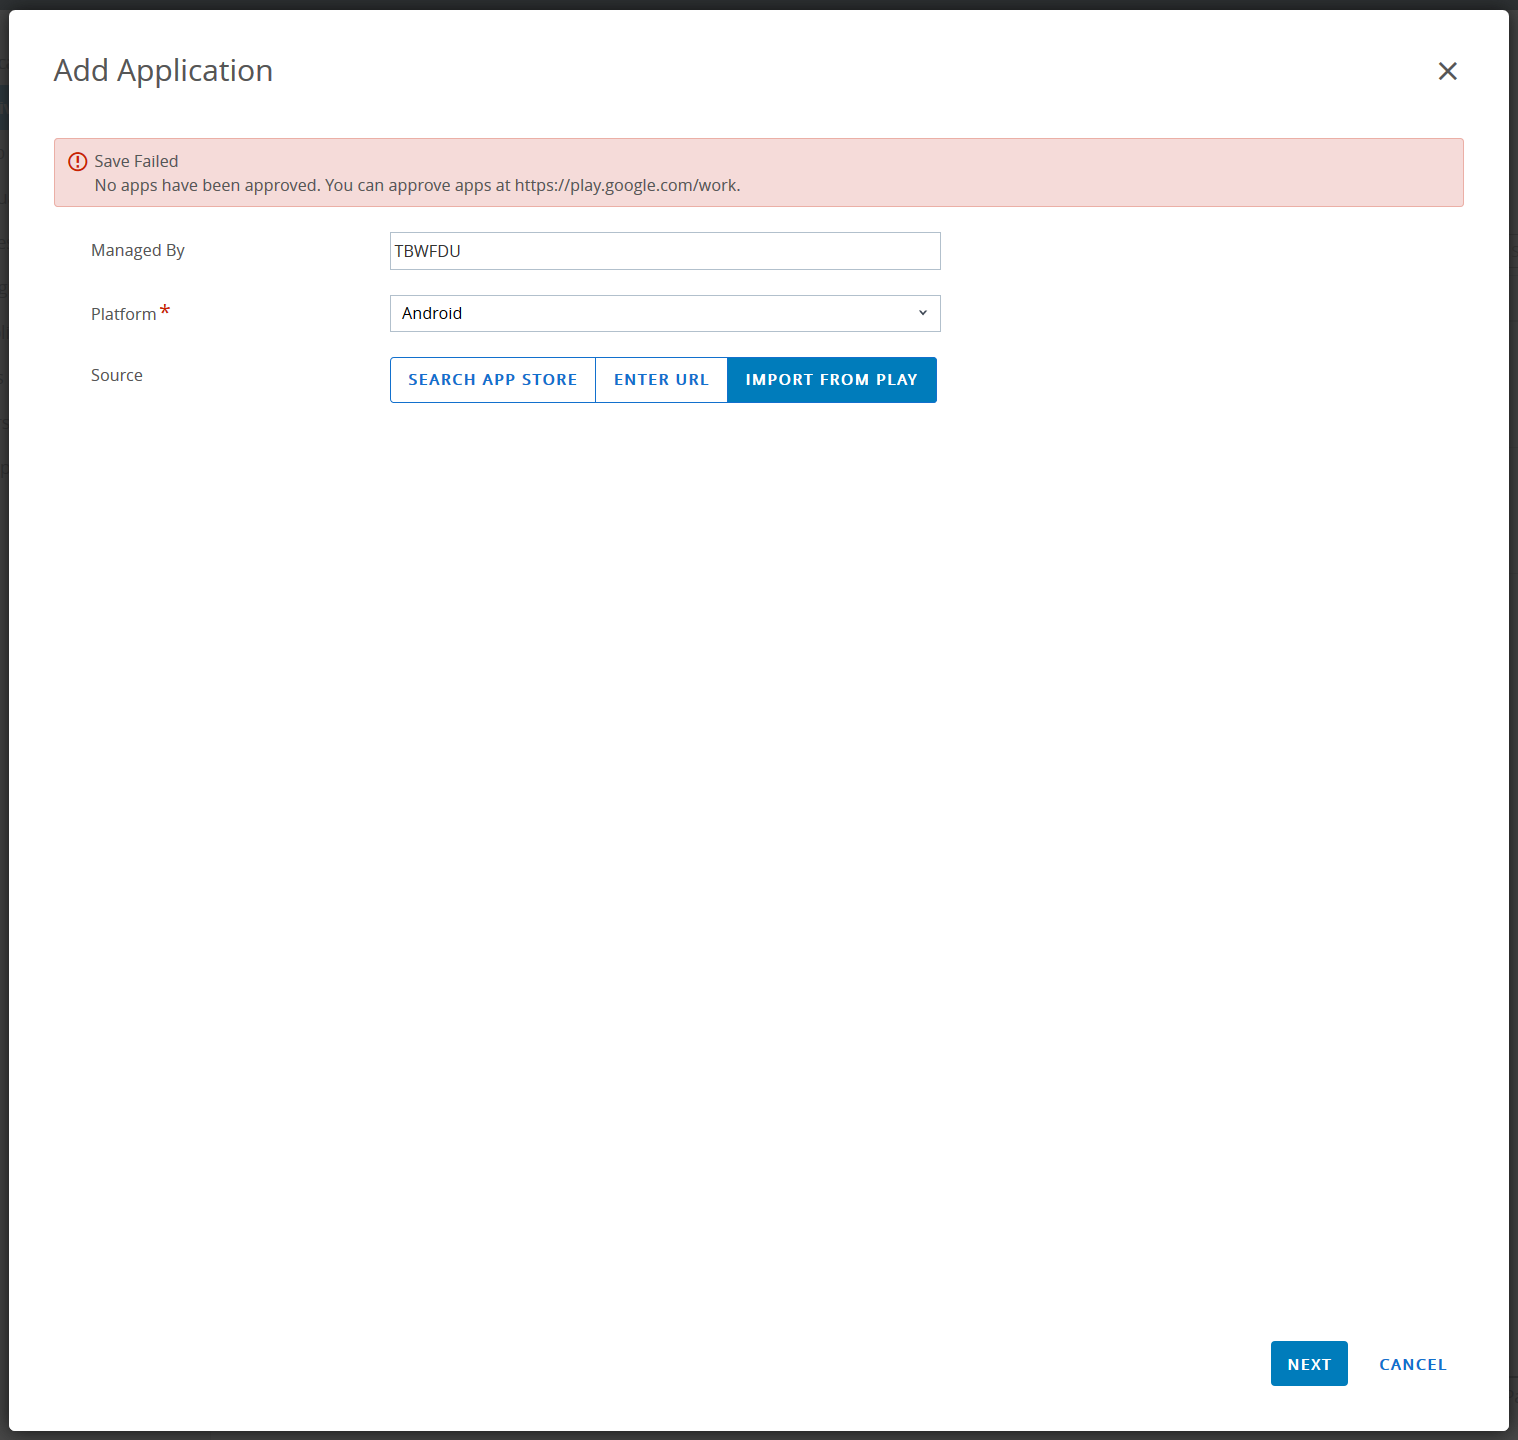
This being said, the way we approve apps to be available is different too. If you go to Apps and Books, add a Public App and try to add an Android App by importing from the Play Store, you’ll get an error if you haven’t approved anything:

Now, it’s pretty straight forward. Just search for the app that you want to approve.
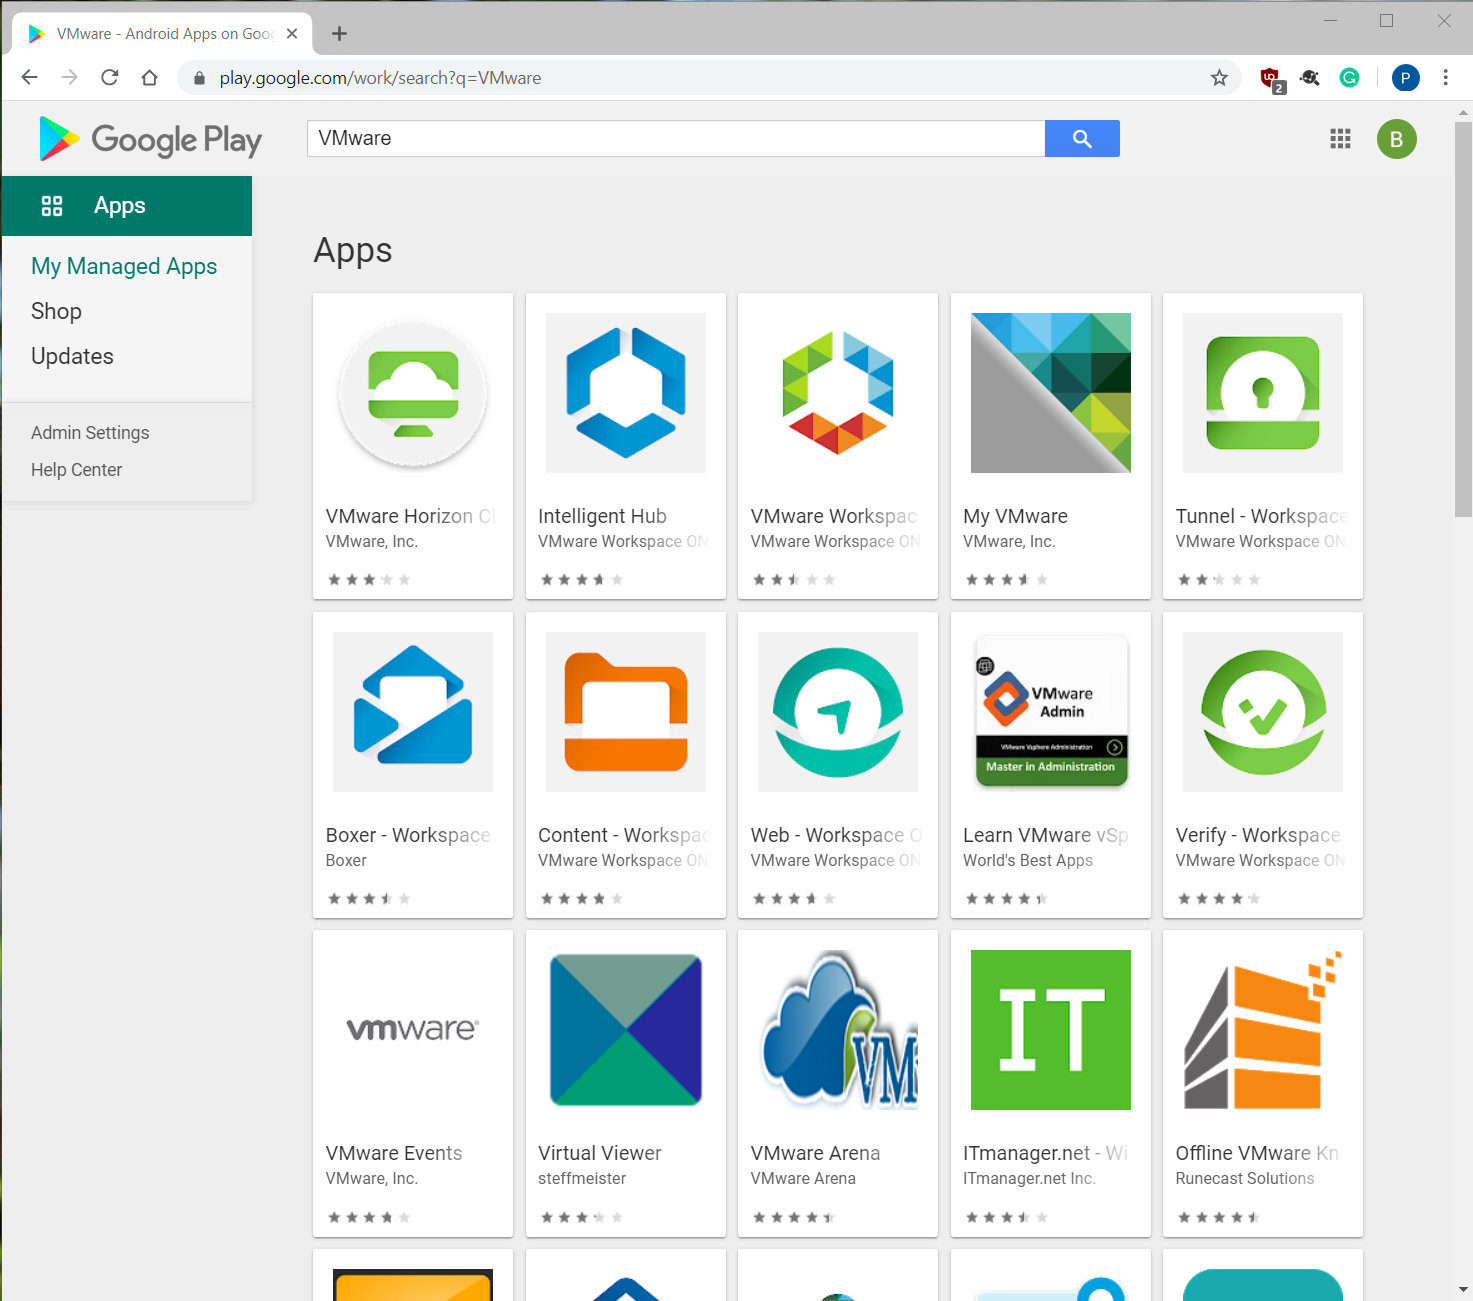
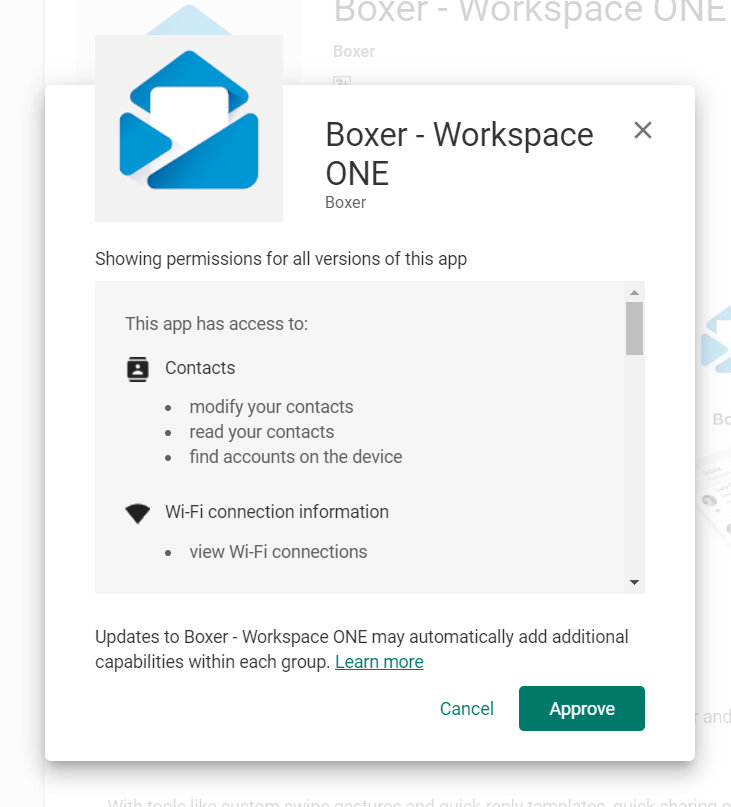
Click on the App you want and then the Approve button.

You’ll then see a pop up asking you to accept the App Permissions on the users’ behalf. This needs to be approved otherwise the App can’t install.

Now that our App is approved, we can go back to our Workspace ONE UEM Console and import it.
Make sure you go to Apps and Books -> Native -> Public then Add Application

Select Android in the Platform dropdown, and then Import from Play and select Next.

This will now return a list of all the Applications you’ve approved in your Google Play for Work account.

Once you press import, it will add it to the Console where you can then assign it to Smart Groups for deployment and set the installation configuration settings and have it available on your devices.


Leave a Reply
You must be logged in to post a comment.