
There are three main ways to get an application installed onto an iOS device. The most common way will be to install applications on devices directly from the iOS App Store, or if your organisation has developed their own application in-house or through a developer you can deploy this as an internal application.
Once the application is added to the Workspace ONE UEM Console it is will be available to install by end users. All pretty straight forward however there is more ways can we make this process even easier.
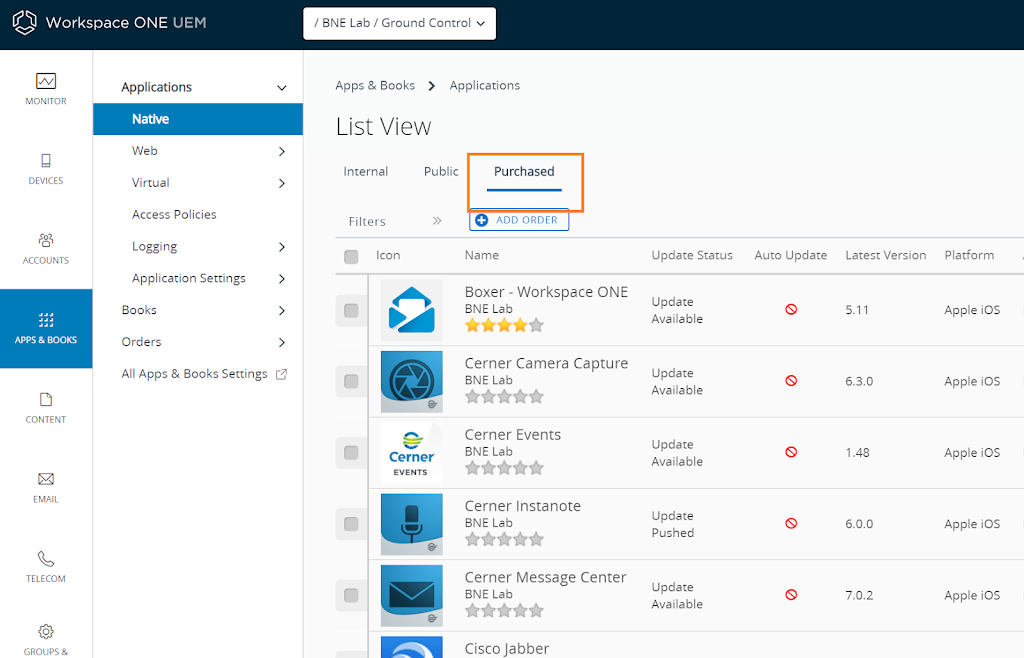
Those with a keen eye (or like to proofread my work) may have noticed that I said there are three ways. The third way is using the Apple Volume Purchase Program. This is where you can purchase app licenses in bulk and have them install on end user devices. When we mention “purchase” this also extends to free applications. The reason why this is useful is because with VPP you can now install applications without needing to enter an AppleID on the device (called device based assignment). So, you can install all apps, including free ones, with no user intervention!
Workspace ONE UEM can also go a step further here with Application Configuration. This allows administrators to pre-populate application configuration in the Console so that when the app is installed on the device it is automatically configured. These settings could be email address, server address or turning application functionality on or off.
The application needs to support this with the developer needing to code this into the app when being developed but have a look at the AppConfig.org website or reach out to the application developer for more information.
Lets now look at how we can add some applications to your Workspace ONE UEM Console.
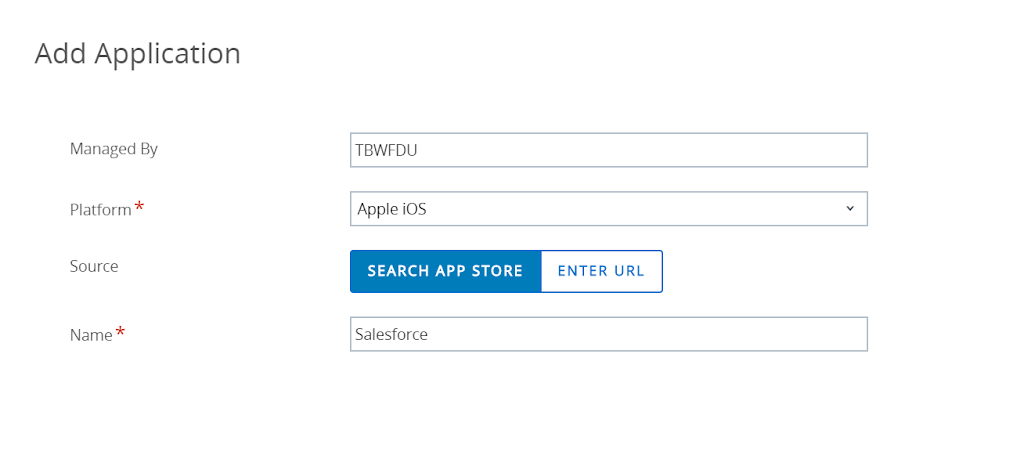
To add an iOS App from the App Store we need to go to Apps & Books -> Native -> Public

If you now click on ADD APPLICATION you’ll be asked what OS you want to add an app for. Select Apple iOS from the Dropdown and enter a name for the app you want to search for.


Leave a Reply
You must be logged in to post a comment.