 Full disclose straight up – this is a long one.
I often get asked that once we remove SCCM from a customer’s environment and provide full Modern Management with Workspace ONE, how do we image machines? Well, you can obviously just use what comes on the PC and enroll it then remove whatever you don’t want. There’s also Dell Factory Provisioning which allows you to provide the configuration and have the Dell Factory apply the image and have to directly sent ready to be used (GREAT by the way). What about if you’re not using Dell? What about if the hard disk fails and needs to be replaced?
That’s what I’m going to answer.
There’s no argument, SCCM is a very powerful tool. It’s been around for a long time and in its time was very good. However with more and more users and devices being truly mobile (who buys desktops nowadays?) only being able to configure and manage these devices when being inside the corporate network with SCCM isn’t great. Workspace ONE can manage the device anywhere over the internet and can replace SCCM for all of the management and application deployment tasks.
Except for one – imaging.
We don’t image devices and that is still a requirement in some scenarios. But under the covers of SCCM, the capabilty to deploy Windows is already embedded inside Windows Server itself. This Server Role is called ‘Windows Deployment Services’.
WDS (et al) is a set of tools that allows you to deploy Windows automatically over the network (using PXE boot) or using a Bootable USB/CD if you need to. It also has some robust ‘Task Sequences’ that allow you to do custom tasks during the deployment. Best of all, it doesn’t require a System Centre License.
Let’s look at how we can install WDS on a Windows Server in your environment to deploy either a standard Windows 10 install or a customised Windows image that automatically deploys your Applications and automatically enrolls into Workspace ONE.
Before we start, I’ll list out the bits and pieces we’re going to install and what they’re for:
Windows Deployment Server: This is the Services that handles te PXE boot request and deploys boot image. It can function by itself but we install other tools to improve what it does.
Microsoft Deployment Toolkit: This greatly improves WDS for us. It comes with a HEAP of scripts (don’t worry, you don’t see or edit them) that automates everything. The main one is the Deployment Workbench where we can create images and configurations.
Windows Automated Installation Kit: It is required for other tools to work and also gives us the Windows System Image Manager tool that allows us to create and edit unattend.xml files for Windows Sysprep images.
We don’t use all of this straight up in this article, but they get installed now as we will make use of them in the next couple of related articles.
First of all WDS is installed onto a Windows Server. I am using Server 2019 with the server joined to my domain. We need to add the required Roles to the Server using Server Manager.
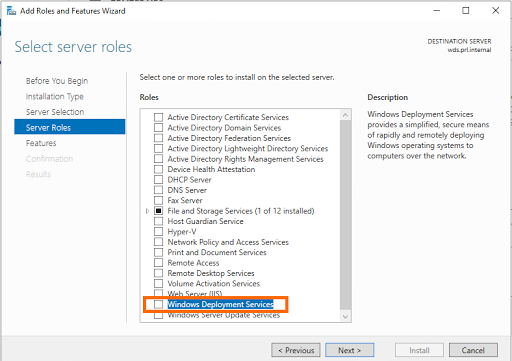
Open Server Manager on your Server and go to Manage, then Add Roles or Features.

In the Add Roles section you want to select Windows Deployment Services.
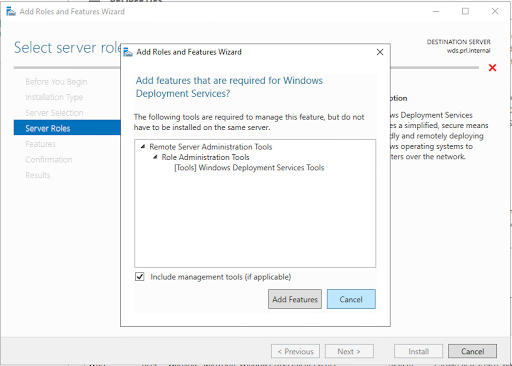
Let it do its install the required management tools as well.
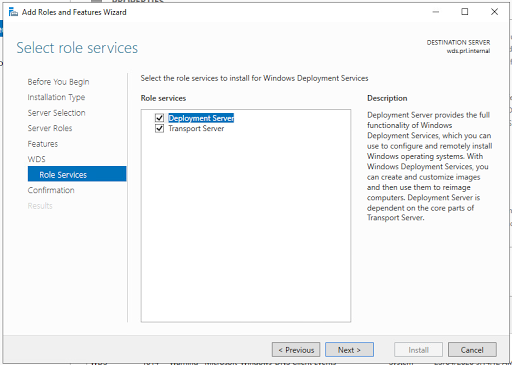
You want to install both WDS Roles.
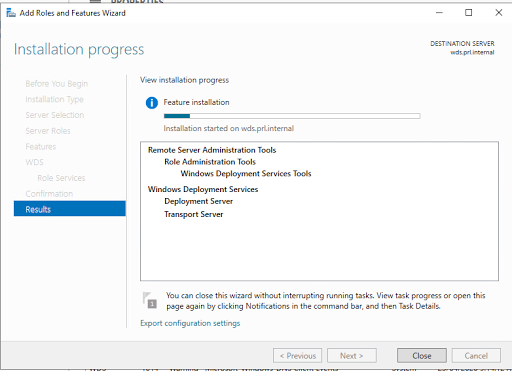
Let it do its thing.
Once it installs, you’ll need to open the Windows Deployment Services MMC from Windows Administrative Tools. You’ll get a message saying it needs to be configured.
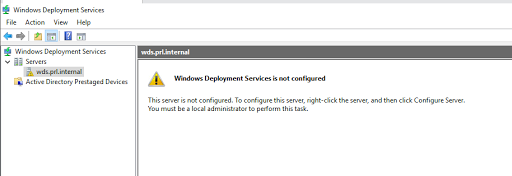
Right Click on your Server and go to Configure. Go through the Wizard and make the following Selections.
Integrating with Active Directory allows you domain join your imaged machines if you need to.

Responding to all requests means you don’t have to approve every deployment request.
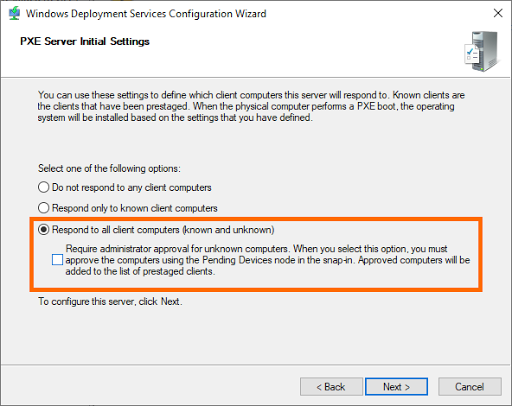
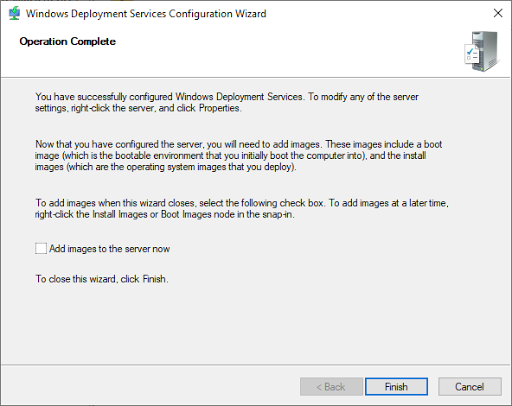
Untick ‘Add Images to Server’ and go to Finish.
Now we need to install a few extra tools.
We need to install the Windows Deployment and Assessment Toolkit. You can download it here:
Accept all the defaults and install.
Next, we need to install the ADK Windows Pre-Installation Environment Addon. A link should be on the same page, otherwise here it is again.
Lastly, we need to install the Microsoft Deployment Toolkit.
Accept all the defaults here as well.
Now we have all the tools we need installed. The last one we installed, Microsoft Deployment Toolkit, is the magic sauce. This is where we can configure the Deployment Settings and Tasks.
In the Start Menu, you should see Microsoft Deployment Toolkit, and Deployment Workbench. Open this.
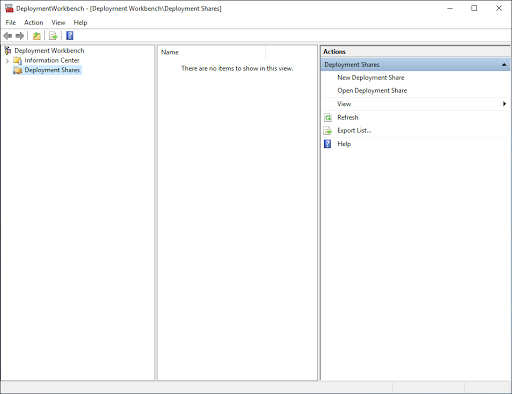
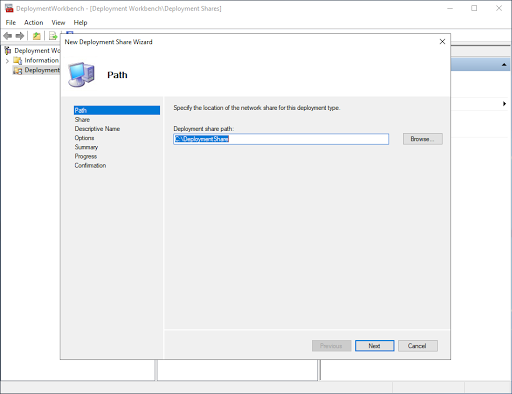
We now need to right click on Deployment Shares and create a new Deployment Share.
It will ask for a path – this will be where it stores the files on this Server for deployment of the OS, Boot Images etc. Make sure it has enough space!
After this, it will create a share (the $ means its “hidden”). This will be what the clients connect to in order to install Windows.

It doesn’t matter what you select under ‘Options’ as we override these later.
We now have a Deployment Share, we need to add an Operating System to deploy. For now, lets just mount your Windows 10 ISO. If you double click on your Windows ISO it will mount as a drive on the server.
Right Click on Deployment Share and select Import Operating System.

Select Import Full Set of Source Files. This is importing a Windows 10 installer.

Point it towards your mounted Windows 10 ISO.

Give it a name.
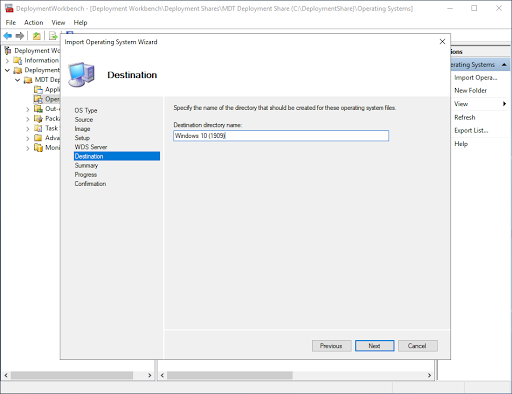
Next, next, next all the way through.
Once it has imported, you will see a list of Windows Editions you can deploy. Because my ISO was Windows 10 Business Editions, it shows every possible edition.
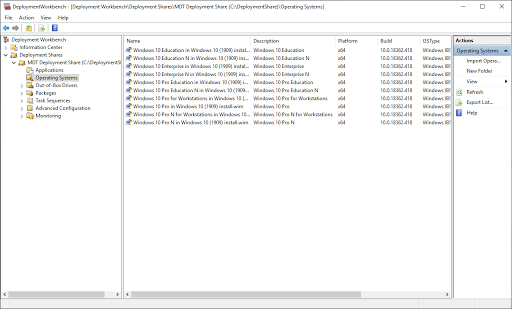
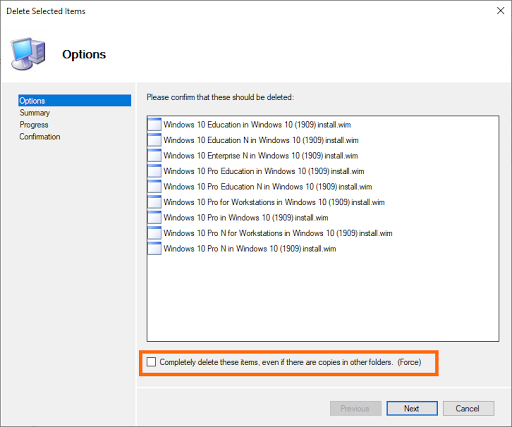
You can choose to leave them all visible (if you want to deploy more than one edition) however I only want Windows 10 Enterprise. So I selected all the ones I don’t want and select delete.
IMPORTANT: Unselect the Completely Delete option. This will delete the WIM files not just the entries in the list.
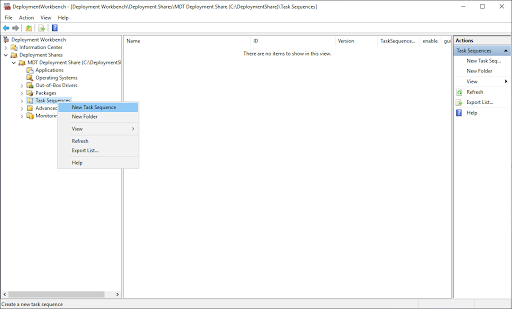
Once we’ve done that we can now create a ‘Task Sequence’ to deploy Windows.
Right Click on Task Sequence and select New Task Sequence.
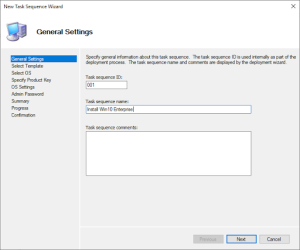
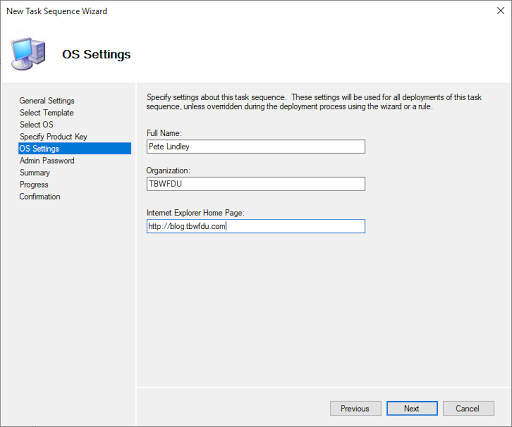
We need to give it an ID and a Name. This is what appears during the Deployment.

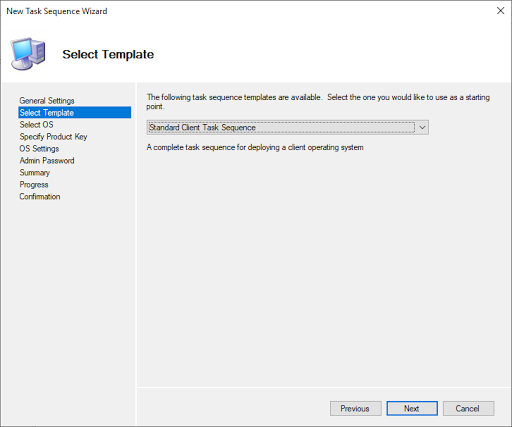
For now, we just want to select “Standard Client Task Sequence”.
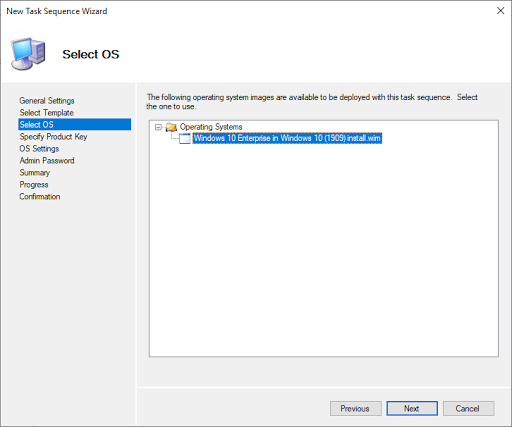
Select your OS editon.
The next few options are up to you. You can add a Windows Key if you want, give it a name and select an Admin password.
Keep going until its created.
Once the Task Sequence has been created, we need to ‘Update the Deployment Share’. This will also create the boot images required.
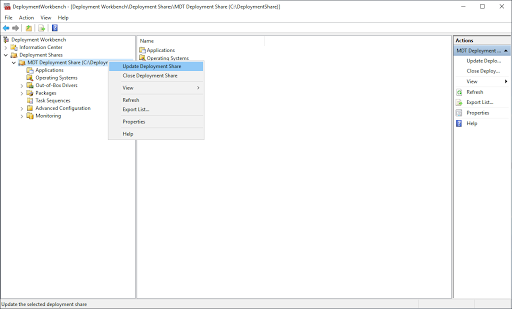
This will take a while as it creates a bootable ISO, as well as bootable WIM files that will be used for Windows Deployment Services PXE boot.
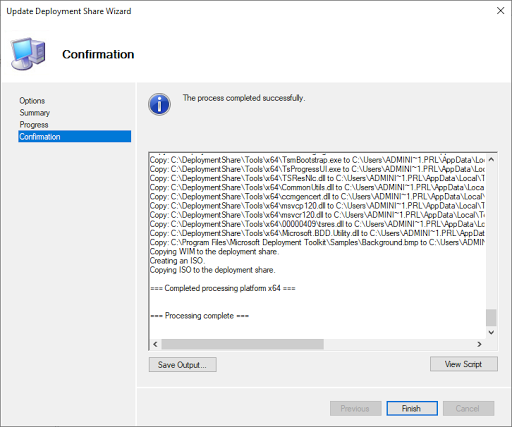
When this is complete we have a basic configuration of a Windows Deployment Server and the Microsoft Deployment Toolkit. You could stop here and boot your machines into the WDS environment using the Bootable ISO images.

Enabling PXE Boot for Windows Deployment Services
If we want to leverage PXE boot, we need to update Windows Deployment Services to boot the WIM that was created as part of the Deployment Toolkit process.
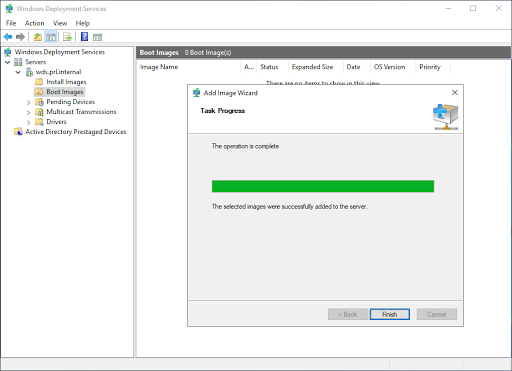
Open the Windows Deployment Services MMC and right click on Add Boot Image.
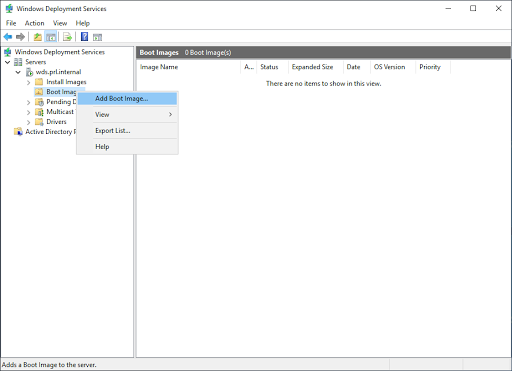
Find the bootable WIM files on your Deployment Toolkit Deployment Share (eg. C:DeploymentShareBoot) and add the x86 and x64 (usually called LiteTouchPE_x86 and _x64) WIM files.
Give it a name (doesn’t matter what you call it) and let it upload to the WDS Server.
Your Windows Deployment Server is (by default) ready to respond to PXE boot requests and will use the TFTP protocol. To get your client machines to know how to contact the WDS environment, the configuration settings need to be passed as part of the DHCP Scope options on your DHCP Server.
I am using my Velocloud Edge 510 router as my DHCP Server so my view of where to set this may be different to yours, but the settings are the same for every DHCP server.

The important configuration settings will be:
Option 66 – Enter the IP Address of your WDS Server
Option 67 – Enter bootx64wdsmgf.efi (for 64-bit UEFI)
Option 67 – Enter bootx86Wdsnbp.com (for x86 and x64 BIOS) – note: I only have one bootfile set in my example. Also, you can add more than one Option 67 in your DHCP scope options.
Now, on your PCs as long as your have PXE or Network Boot enabled in your Boot Sequence, your devices will receive the correct boot settings and boot into your WDS environment.
You will boot into the Pre-Install Environment and will see the options that are enabled in your Task Sequence.
Streamlining the Deployment Process
If you did a deployment in the above steps, you will see you would have been asked for a fair bit of information to start the deployment.
We can add some additional configuration to the Boot Image that tells the deployment process to either skip or ignore some settings, or will automate some of the steps (eg. automatically mount the DeploymentShare).
To do this we need to go back to our Deployment Workbench MMC and right click on our Deployment Share and go to Properties.

We want to go to the Rules tab and edit the parameters in there. After changing the defaults, I made some changes to mine as below:

The settings you want to make note of to change are:
_SMSTSORGNAME= this will show during the deployment phase. Change it to your Company etc.
TimeZoneName= this is the name of the timezone you want Windows to be set to.
If you want your machines to join the domain as part of the deployment, you should add the following:
JoinDomain=yourdomain.com
DomainAdmin=adminwithdomainjoinrights
DomainAdminDomain=DOMAIN
DomainAdminPassword=adminpassword
I think the rest are self explanatory, and I will add the list below so you can copy/paste if you want.
[Settings]
Priority=Default
[Default]
_SMSTSORGNAME=TBWFDU
OSInstall=YES
UserDataLocation=AUTO
TimeZoneName=E. Australia Standard Time
OSDComputername=#Left(“W10-%SerialNumber%”,7)#
AdminPassword=VMware1!
ScanStateArgs=/all
USMTMigFiles001=MigApp.xml
USMTMigFiles002=MigUser.xml
HideShell=YES
ApplyGPOPack=NO
SkipAppsOnUpgrade=NO
SkipAdminPassword=YES
SkipProductKey=YES
SkipComputerName=NO
SkipDomainMembership=YES
SkipUserData=YES
SkipLocaleSelection=YES
SkipTaskSequence=NO
SkipTimeZone=YES
SkipApplications=NO
SkipBitLocker=YES
SkipSummary=YES
SkipCapture=YES
SkipFinalSummary=NO
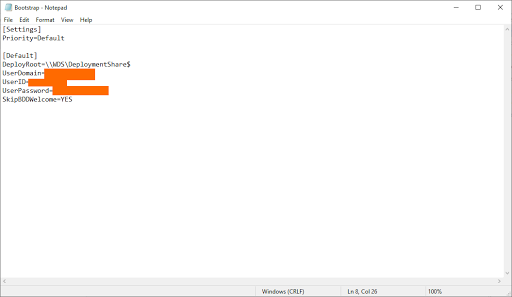
In the same tab, we can also edit the Bootstrap.ini file.
If you add the following settings, you will be able to have it automount the Deployment Share as the user in this file. For security, I created a service account in my domain with permissions ONLY to this folder.
IMPORTANT: Once you make these changes to the Rules and the Bootstrip.ini file, you need to update the Deployment Share (right click on the share in Workbench, update) AND update the boot WIM files in the WDS MMC (right click boot image, replace, locate updated one).
That’s a wrap! Keep an eye out for the next post on how to create an image and have it automatically enroll into Workspace ONE!


Leave a Reply
You must be logged in to post a comment.