Google Cloud Directory as a 3rd Party IDP in VMware Identity Manager
by
pete
Believe it or not, not everyone uses Microsoft Active Directory for their User Directory. Even more shocking is that many customers are using GSuite – not Office365 – for their Productivity Apps, Google Pixelbooks as their devices, and if they’re smart Google Pixel devices for their mobile devices. Obviously all managed by VMware Workspace ONE UEM.
All jokes and shameless plugs aside, I am starting to see a few customers now who live only in the Google ecosystem and don’t need or want to keep other services. They only use GSuite and as a result they don’t have Active Directory to sync to Identity Manager and I’m being asked by colleagues around the region on how to use all the benefits of Workspace ONE UEM while still being able to leverage their Google investment.
Below, I am going to start off by showing you how to configure Google as a 3rd Party IDP in Identity Manager. There will a follow up article to this in the coming days which will talk about how to also use this configuration with the Workspace ONE UEM (Airwatch) components to round out the full set of capabilities.
This article will show you all the steps to add Google as a 3rd Party IDP in vIDM, add users via Just-In-Time Provisioning and sign into Identity Manager.
Lets dig in.
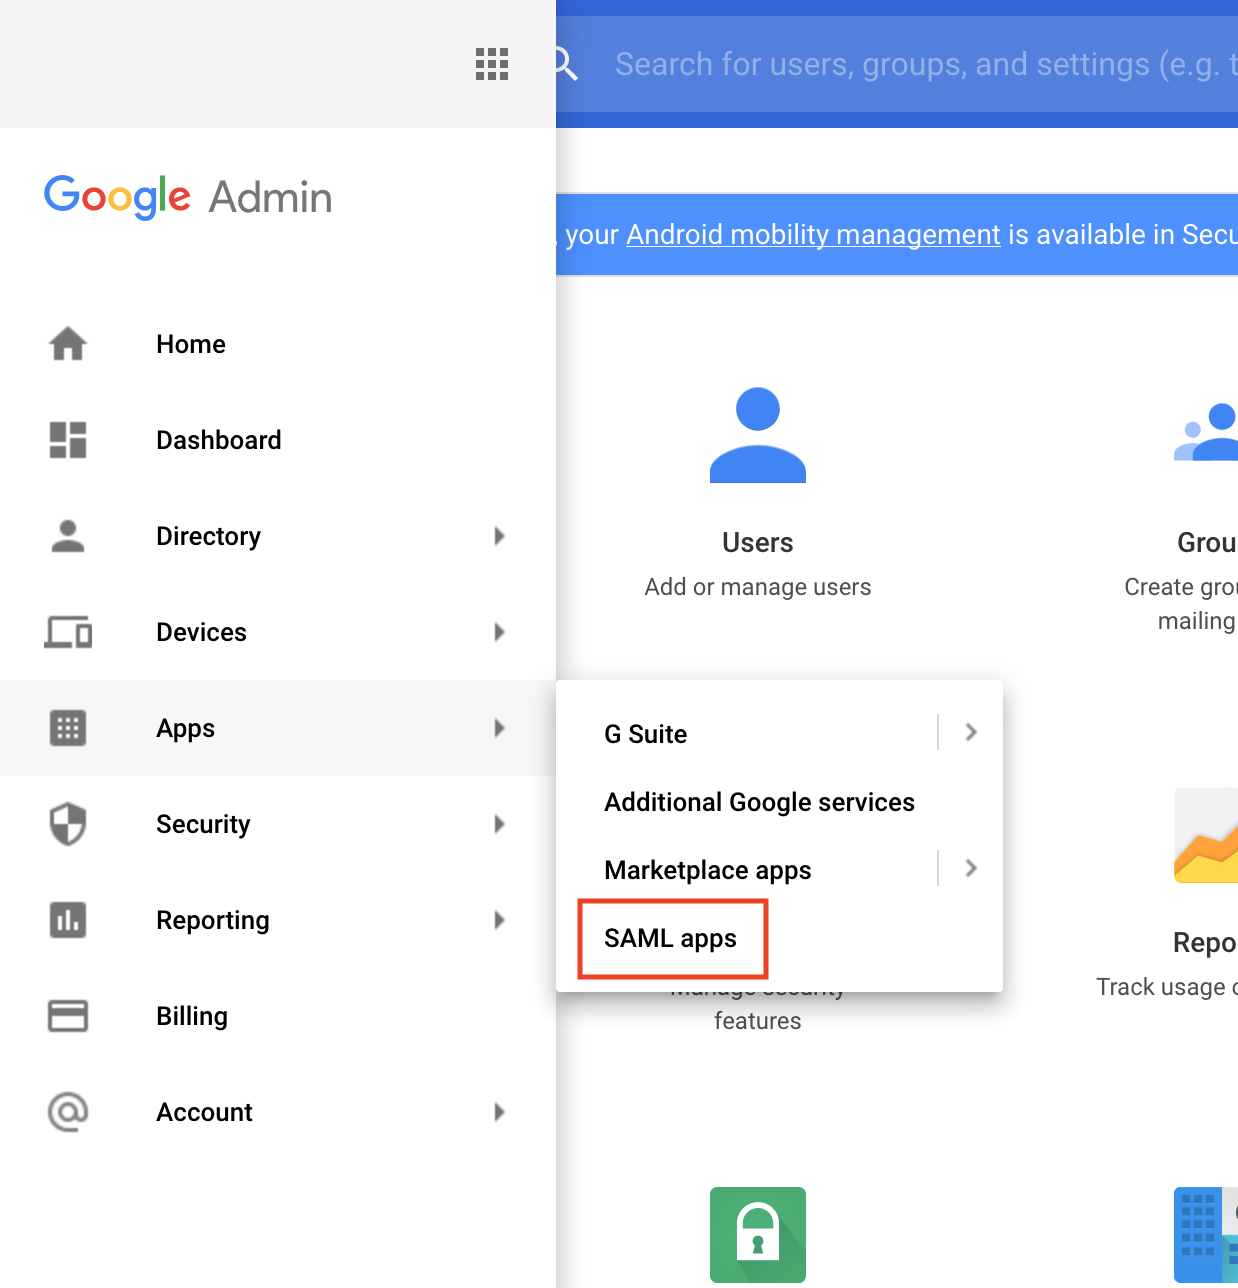
Just like adding any other 3rd Party IDPs in Identity Manager we first need to add Identity Manager as a SAML App in the Google Console.
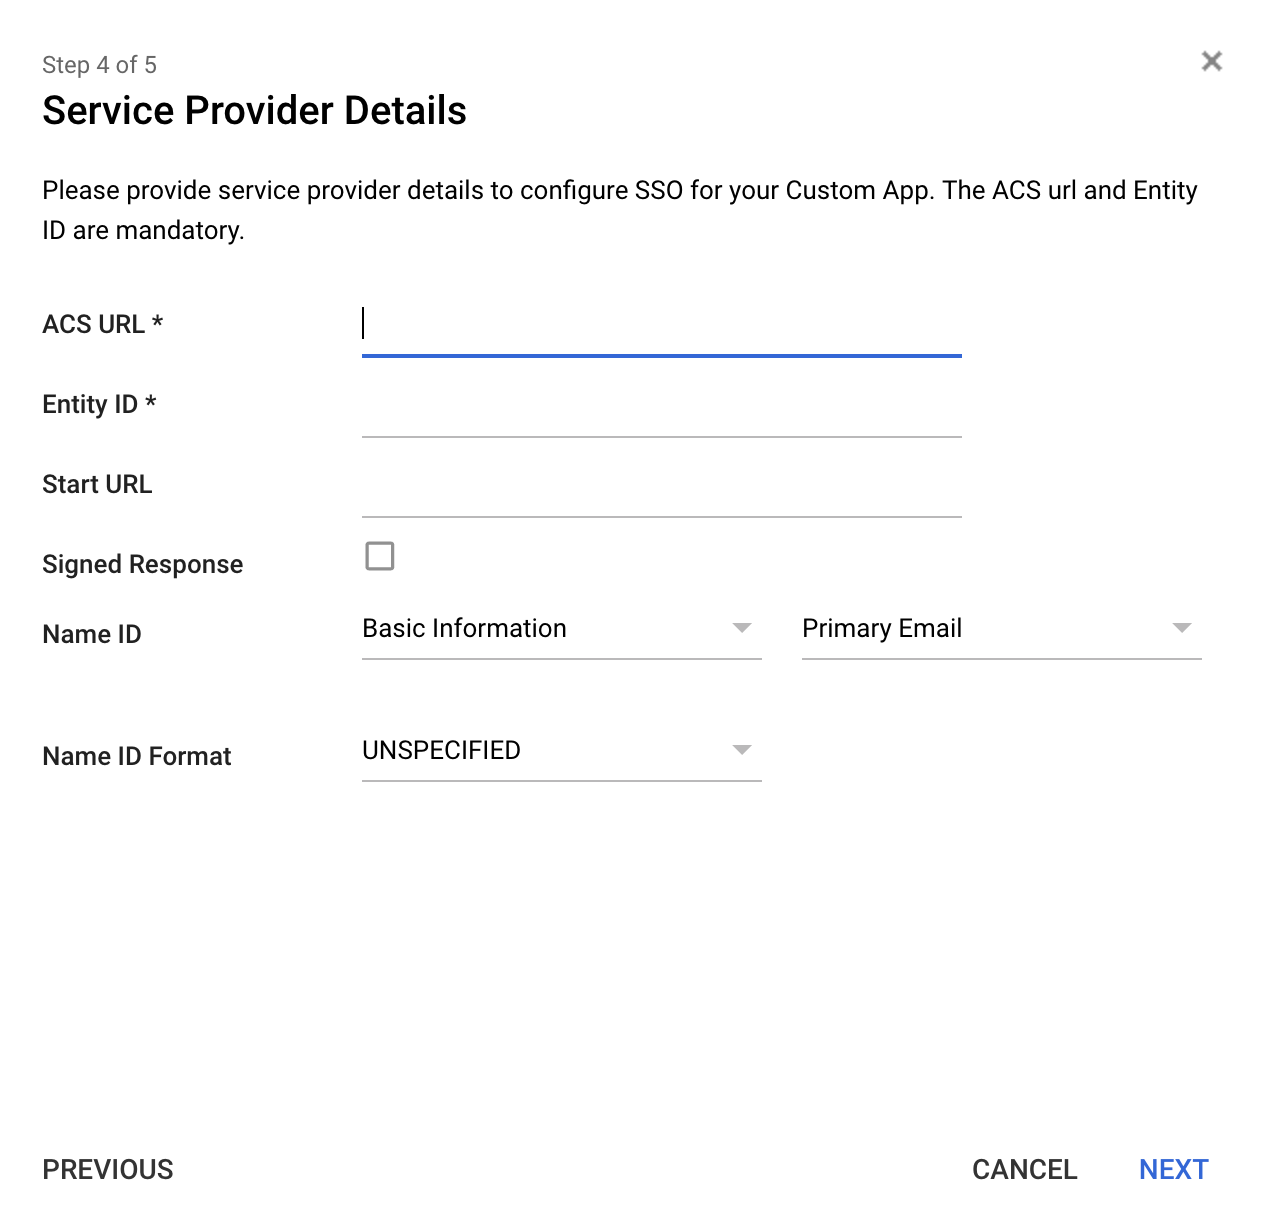
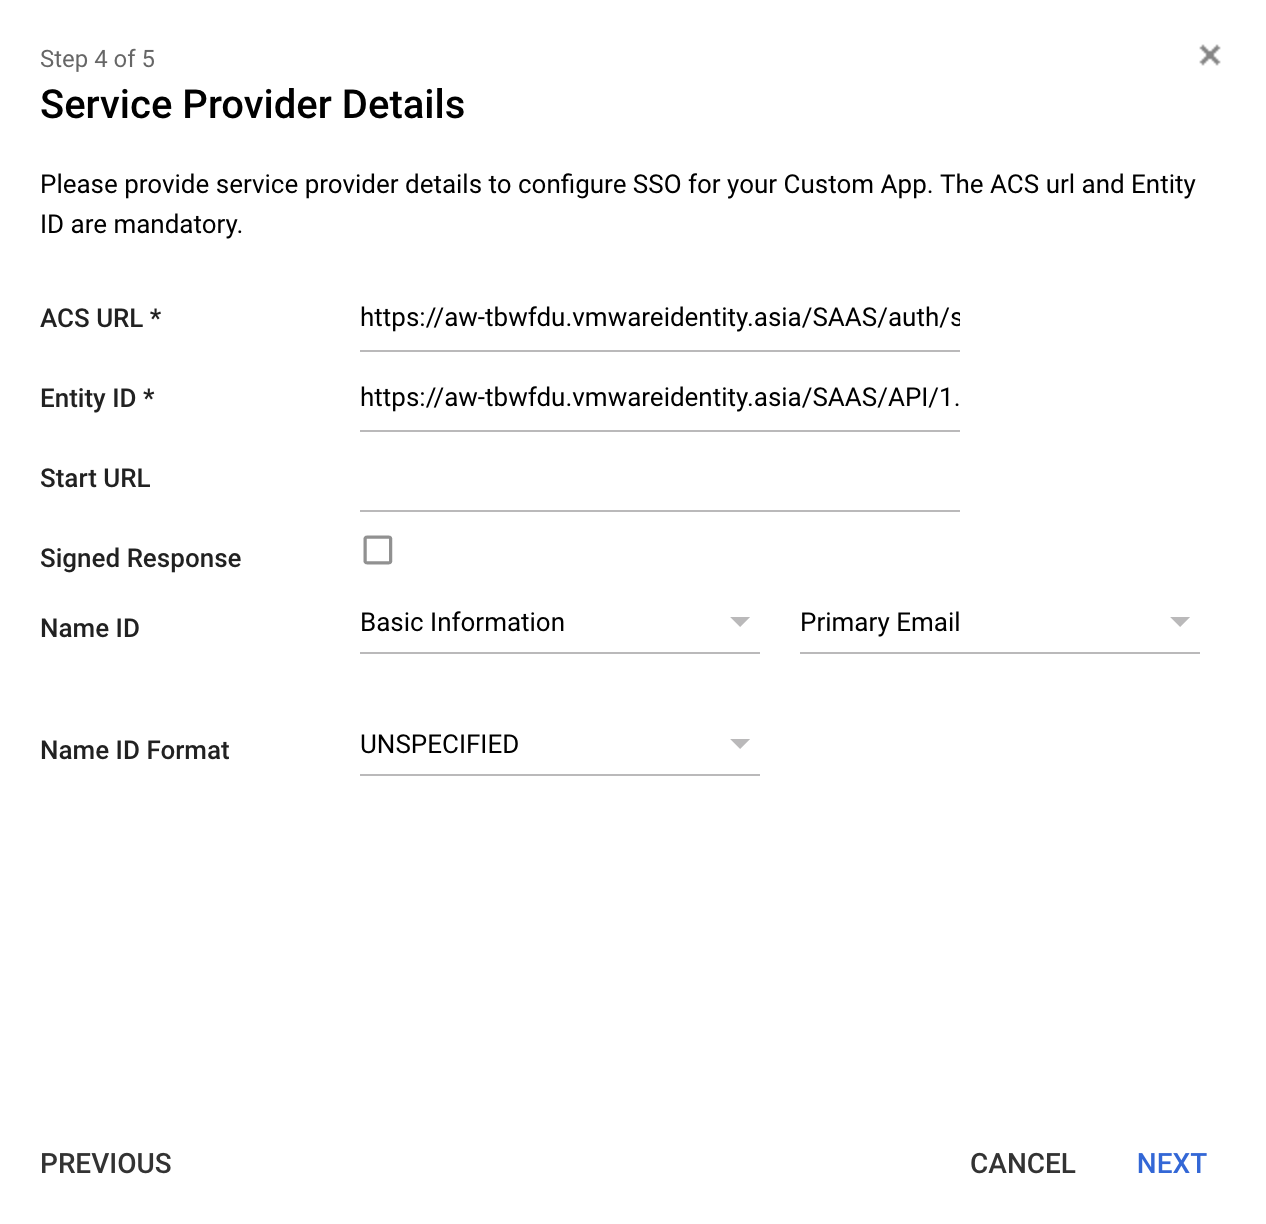
Name ID is from the Basic Information list and should be primary email by default
And Name ID format just leave as UNSPECIFIED
Yours should look like this:
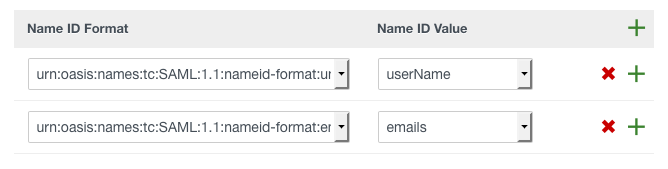
The last step here is we need to add attribute mappings to send the right information in our SAML Assertion. Below are the minimum we need for our purposes (more on this later).
Note userName is set to Primary Email as Google uses email address as username.
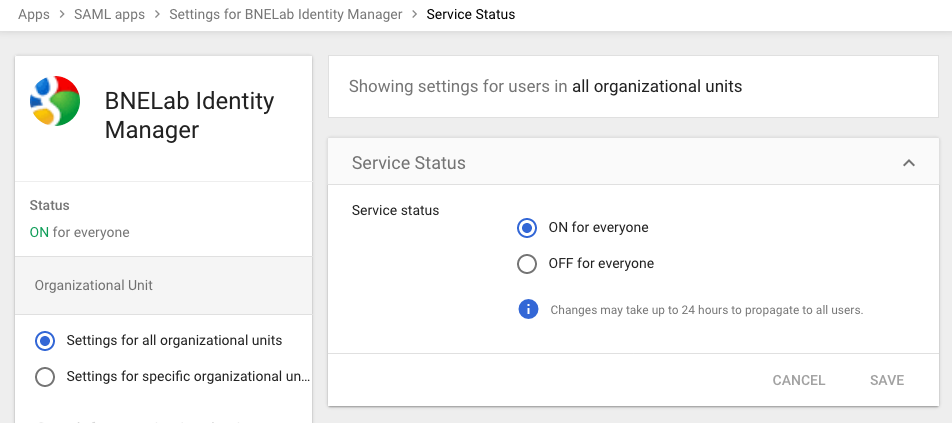
By default, when you add a SAML app Google doesn’t entitle it to anyone. Press the ‘EDIT SERVICE’ and set the Service Status to ON for everyone and save.
Cool. So Google knows about Identity Manager now. Next we just need to set it up Google as a 3rd Party IDP in Identity Manager.
Open your Identity Manager Admin Portal, and under Identity & Access Management go to Identity Providers, select Add Identity Provider, then Create Third Party IDP.
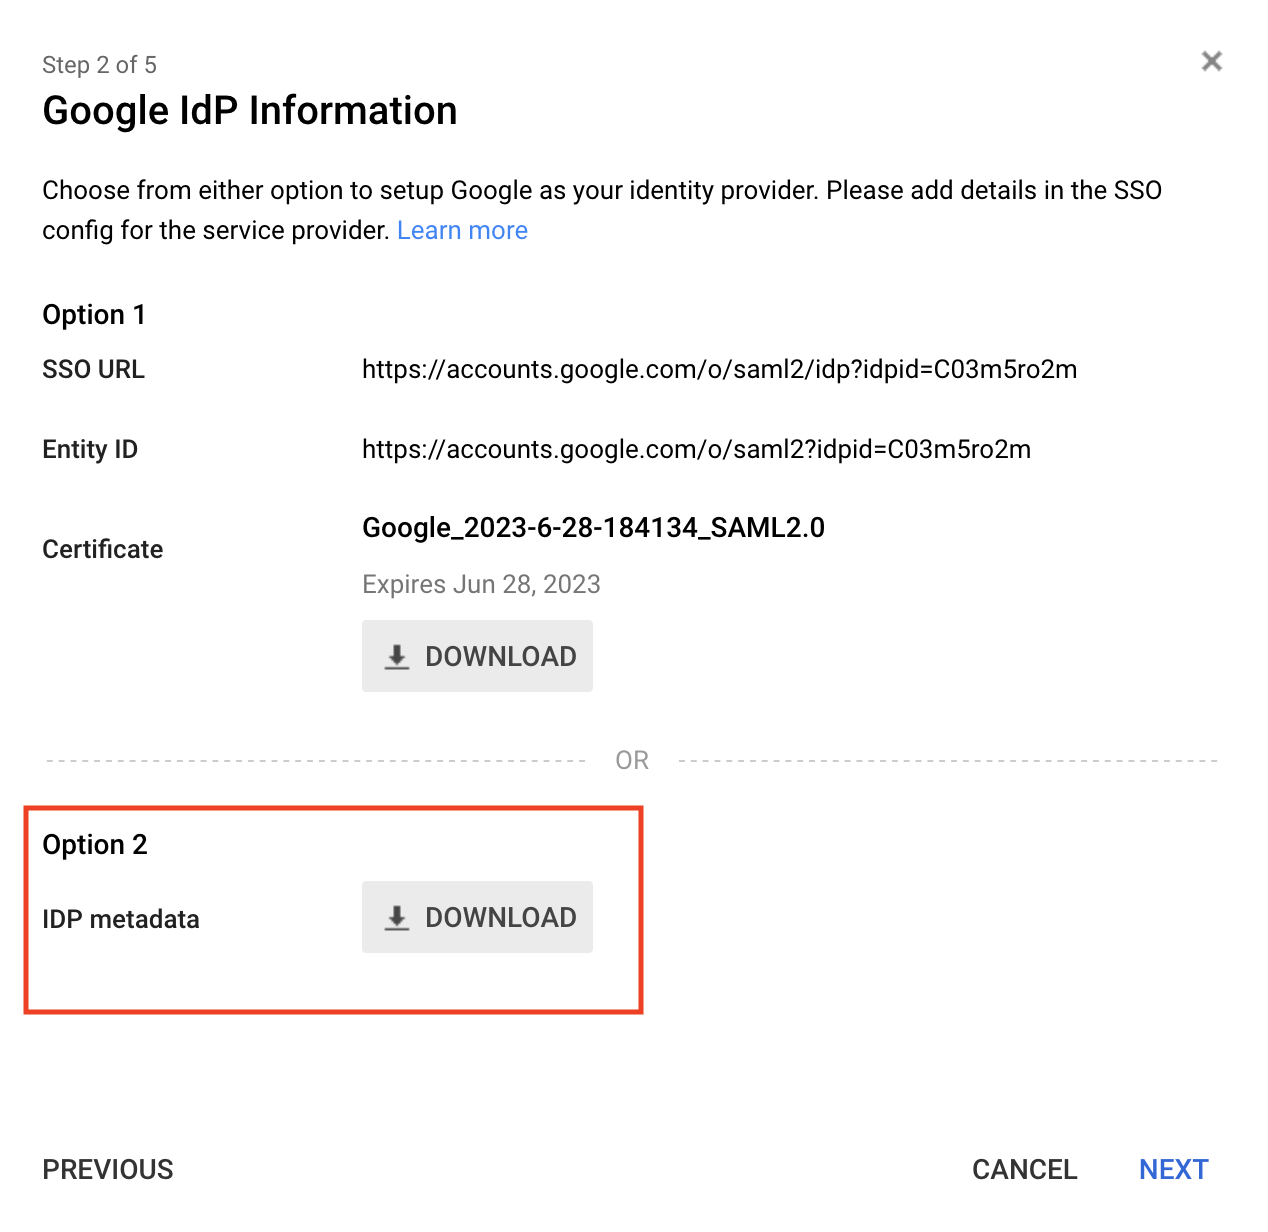
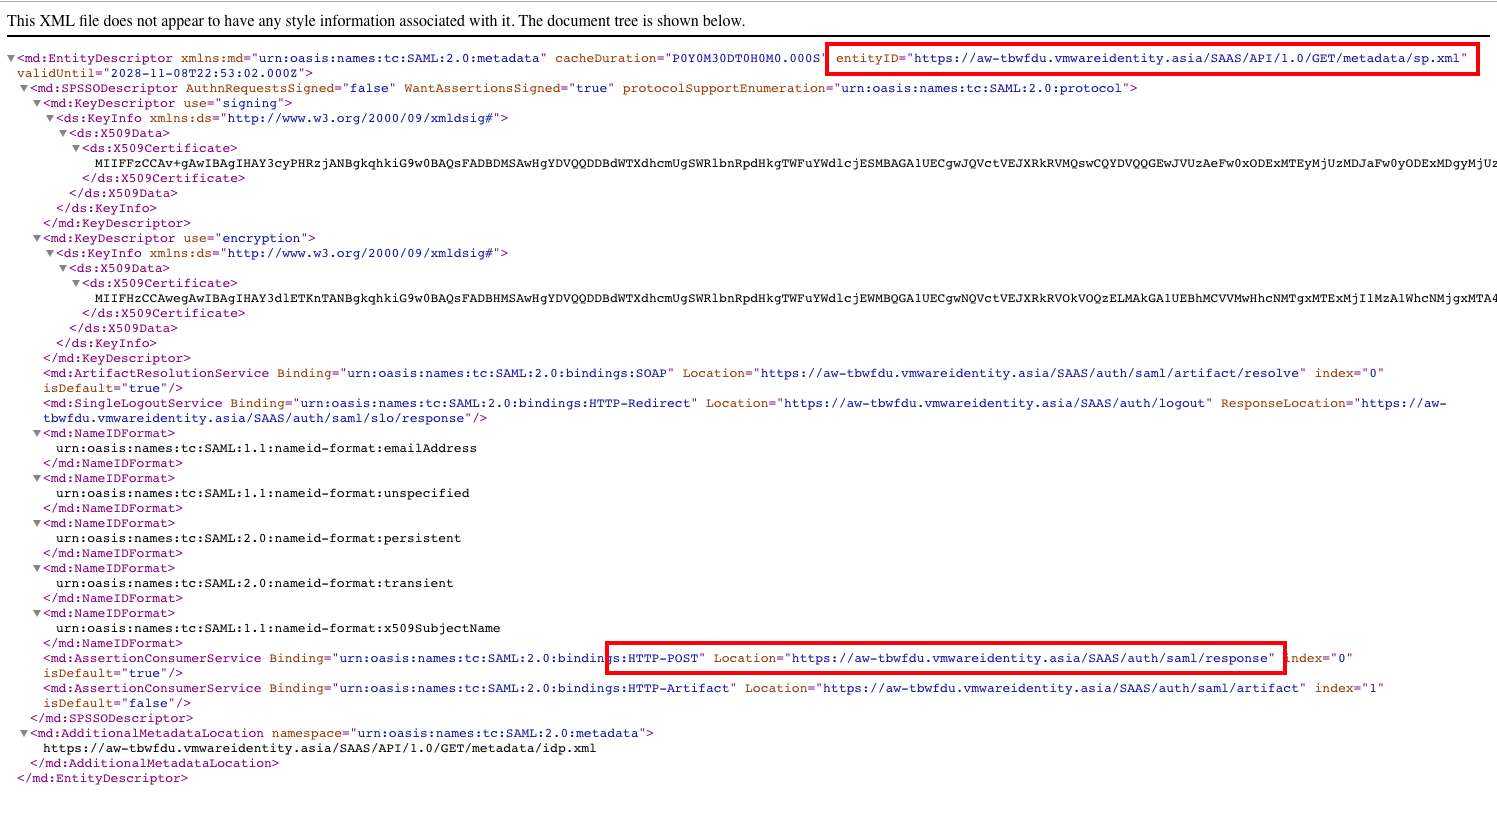
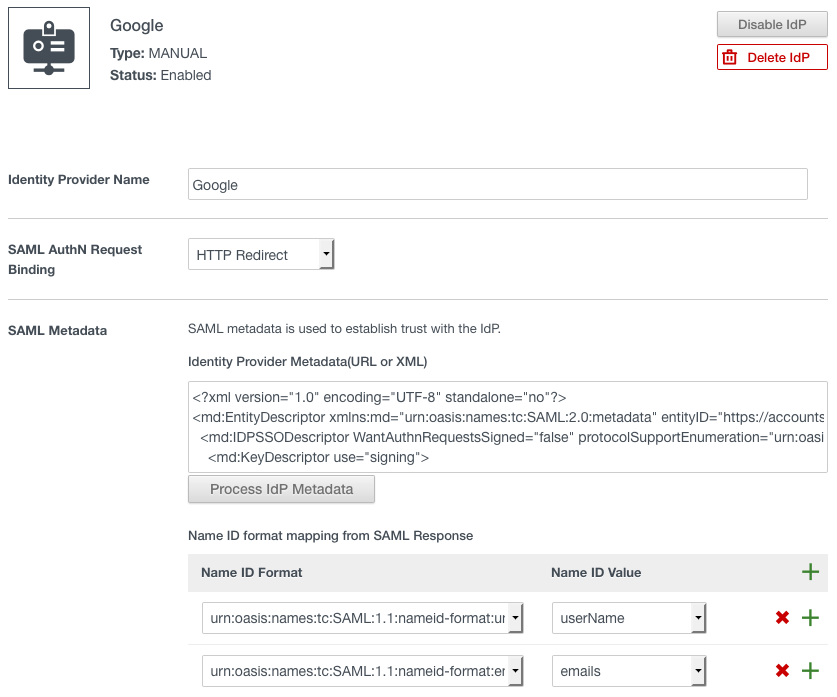
Back a few steps, we downloaded the Google IDP Metadata .xml file. Open this file up and paste the entire contents into the IDP Metadata area and press the Process IdP Metadata button.
This metadata information will pre-populate a some of the fields in this page and also adds the required certificates the config. To make sure everything is covered I will mentioned all the required fields but keep in mind some of these may already be added by the metadata process.
Under Name ID format mapping we need to add two mappings:
unspecified = userName emailaddress = emails
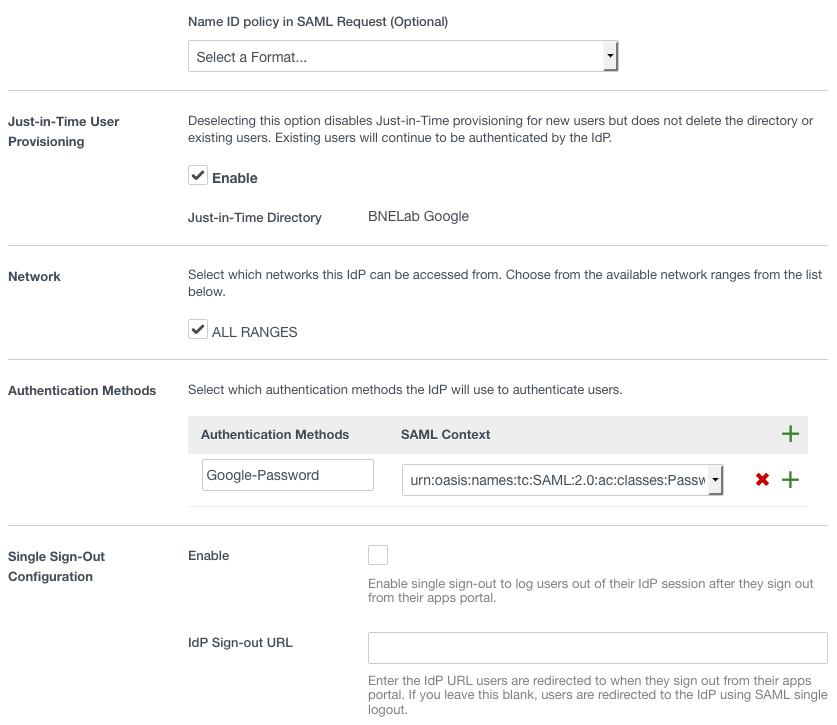
Because in this scenario we aren’t able to sync user attributes from an existing directory (eg. from an LDAP Source) there is an option to utilise Just-In-Time User Provisioning to create the user objects on the fly. If you’re not sure what JIT is, have a look at my article on Just-In-Time provisioning.
Enable JIT, and give the Directory & Domain a name. It can be anything that is relevant to you.
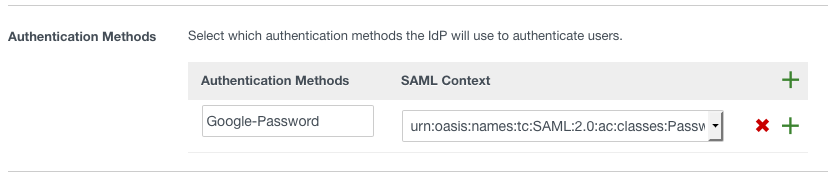
The last part we need to configure is an Authentication Method. Add a name that is relevant to you and make sure the SAML Context isurn:oasis:names:tc:SAML:2.0:ac:classes:PasswordProtectedTransport
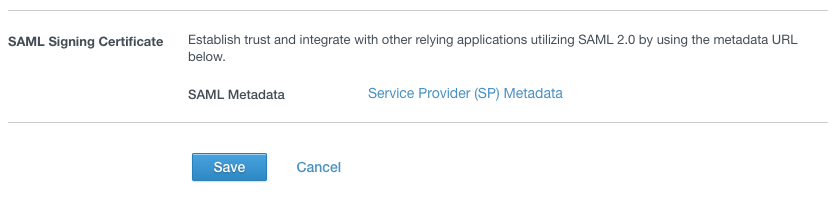
We can now save this config. For completeness, below is a screenshot of the entire configuration.
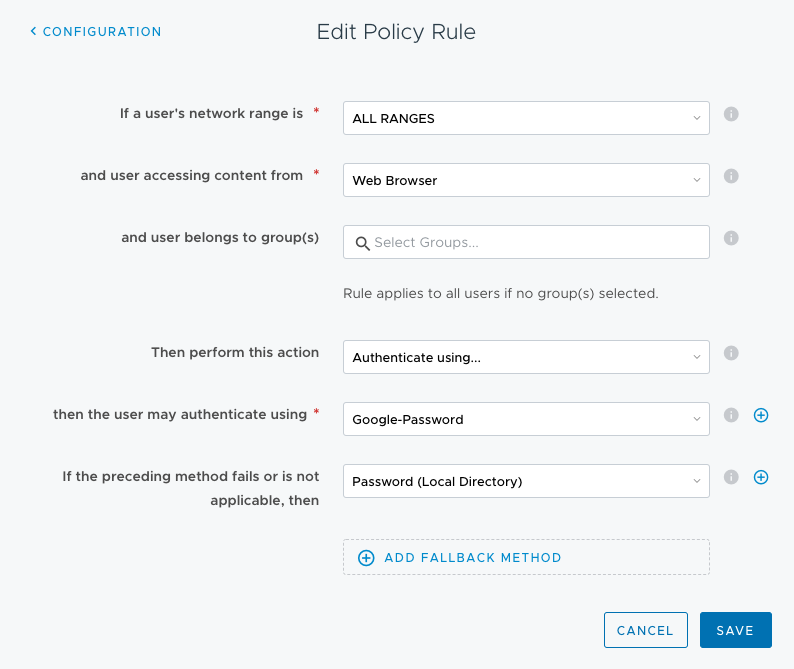
We now have Google and Identity Manager integrated with each other, our last step is configure our Identity Manager Access Policies to use the Google Authentication Method.
Back in our Identity Manager portal, go to Policies and (in our example) add it to the default_access_policy_set
Where you add this and to which device type is up to how you need it for your environment.
We’re done!
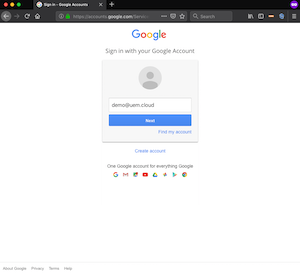
Below is a video of this in action. There’s not a lot to see as this is a new environment I spun up (in seconds) in our Cloud Identity Manager Tenant, but what you’re not seeing is important!
Notice you don’t see any login screens other than Google as this is where we’re authenticating. The Demo Account is also being created automatically when I am logging in.
So, basically, we would be able to set up a cloud only implementation of WS1 UEM, for a customer that only uses Google catalog and has absolutely no on-prem infrastructure? No server, no connectors, no local stuff at all? Any guide I see seems to demand at least one server.
 Believe it or not, not everyone uses Microsoft Active Directory for their User Directory. Even more shocking is that many customers are using GSuite – not Office365 – for their Productivity Apps, Google Pixelbooks as their devices, and if they’re smart Google Pixel devices for their mobile devices. Obviously all managed by VMware Workspace ONE UEM.


Leave a Reply
You must be logged in to post a comment.