Installing Identity Manager Connector and Configuring Directory Services in Workspace ONE Access
by
pete
In this article we’re going to talk about installing the VMware Identity Manager Connector in your environment to allow you connect to your On-Premises Active Directory. This connector also has a few other purposes like additional inbound authentication methods and the ability to synchronise Horizon Applications and Desktops.
We’re just going to talk go through installation and configuring synchronisation with Active Directory in this article. I’ll cover the rest in a later post.
Firstly, we need to download the installer. Notice that during the download of this installer you don’t generate a certificate so it won’t prompt for a password.
Now we’ve got the installer downloaded (~580mb). We can run the installation process. You’ll see that I enter a service account during the installation.
This is the same principle as the one for the Airwatch Cloud Connector – it just needs to be a standard user that can do a bind lookup to AD.
I make a note of this in the video, but because the Connector service contains lots of little files Windows Defender takes ages to scan each one during the install and the install appears to stall (around 10mins). Turn off Defender/AV during the install (if possible) and turn it back on afterwards.
Now that we have the Connector installed, we now just need to connect to Active Directory. You should also see in your Workspace ONE Access Tenant that your Connector is available.
You’ll now do the configuration in your Workspace ONE Access tenant, not the connector itself.
Go to Identity & Access Management -> Manage -> Directories -> Add Directory -> Add Active Directory over LDAP/IWA
To add your Directory, you need to give it a name (can be anything). Make sure you select AD over IWA so we can use Kerberos later. The next few options should be default.
The last thing we need to add is the Bind User credentials. This can be the same service account we used during install.
NOTE: This needs to be in FQDN format.
Click Save and Next and it will push the config back to your Connector.
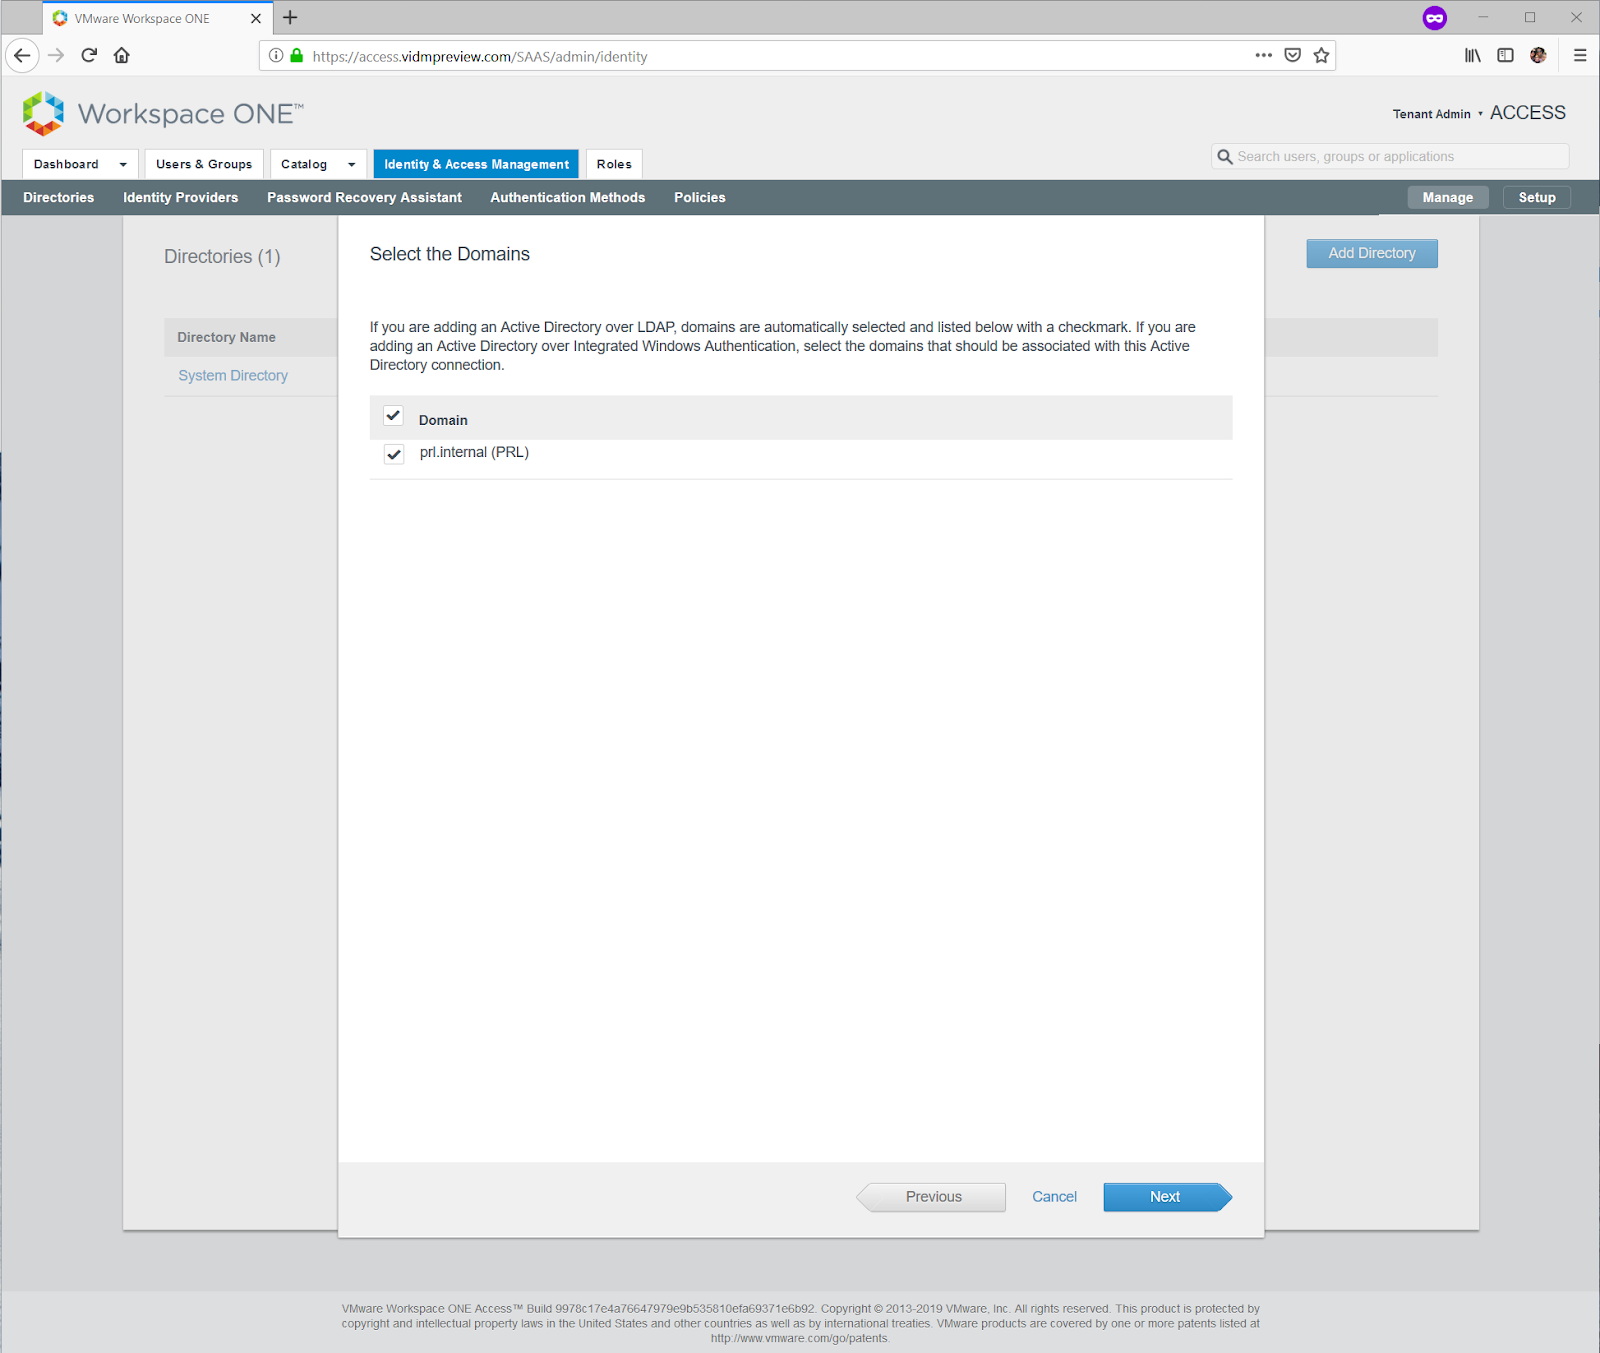
When complete, it will query your Domain Controller for all available domains. Select the ones you want to sync from.
You’ll be prompted to validate/change which attributes are synced. For most cases, leave the defaults. If for any reason you need to add more attributes to sync from AD you can, but not covered here.
The next configuration page allows you to configure which Groups to sync. You need to enter the Common Name of the Group.
Note: The Sync nested group members checkbox only takes affect once. It will sync the users in this group this time, but if you add a user to that group after this sync the new members don’t get synced.
We now need to the same for any users we want to synchronise. You’ll notice in my example I’ve added the Distinguished Name of the Users Container in my Active Directory. This will sync all users in this container.
You can however be specific with the Common Name of a specific user. If I only wanted to sync a few users for testing I could specify their DN like:
CN=Pete Lindley,OU=Users,DC=prl,DC=internal
We can now click Next and it will give us a preview of the Sync. It will tell you how many users and groups its going to sync, and any errors.
The errors here are OK, and highlights a good point. In order to sync a user to Workspace ONE Access they must have an email address. So you’ll need to make sure you’re syncing the right OUs or Users.
You can now click Sync Directory to start the Sync process. Depending on how many user and groups you sync, it may take a while.
Cool. We’re done. We can now have Active Directory connected to Workspace ONE Access.


Leave a Reply
You must be logged in to post a comment.